
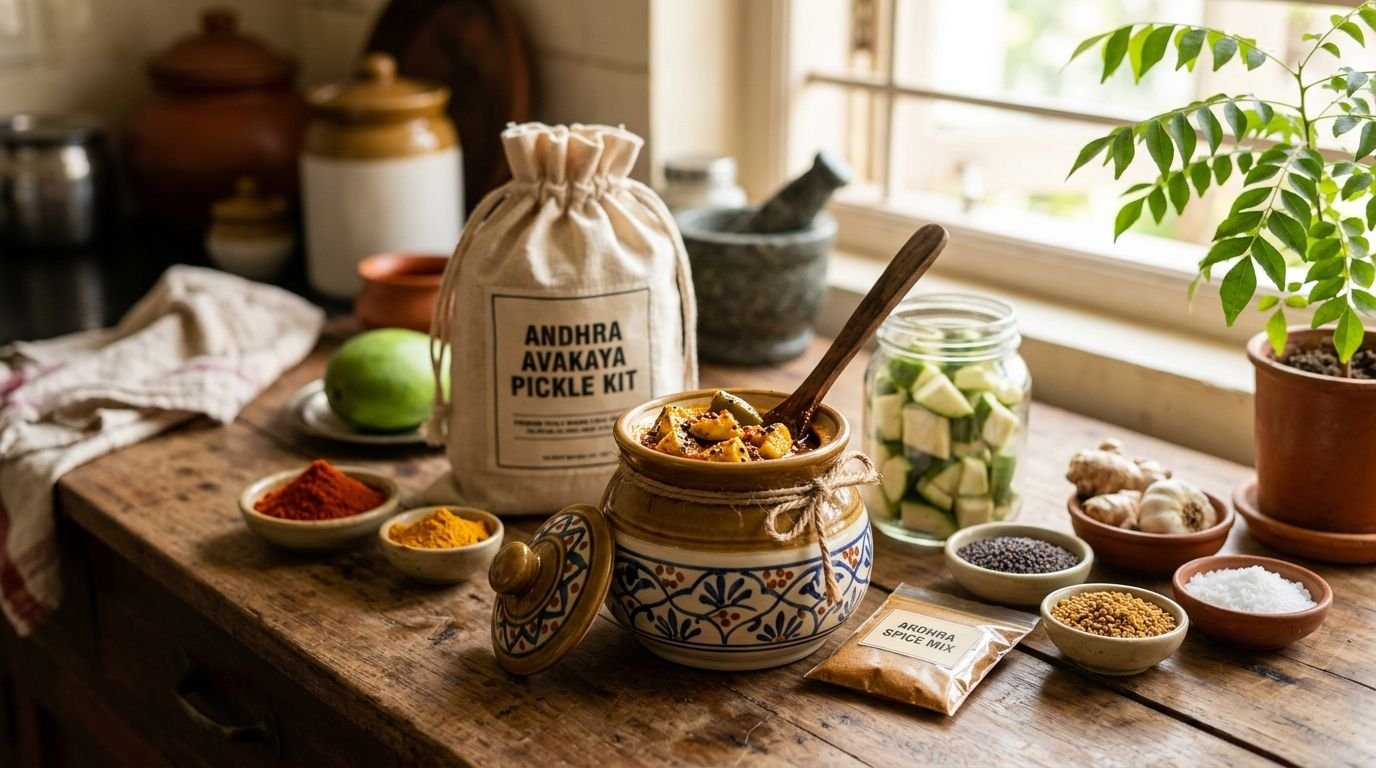
A pickle making kit for home cooks who love Andhra flavors is a bundle of raw vegetables, meat, spice powders, and oil meant to recreate dishes like avakaya, gongura, or chicken pickle in your own kitchen, and it only works when the cook already understands Andhra-specific oil ratios and sun-drying timing. This segment faces a narrower margin for error than general pickle-making, because Andhra recipes lean on higher chili and oil content that punishes shortcuts most generic kits don't account for.
- Pickle making kit success in 2026 depends on oil ratio, spice freshness and sun-drying time, not the ingredient list alone.
- Tulasi Pickles sells finished Andhra pickles and podi (spice powders) instead of boxed kits, for cooks who want the flavor without the failure risk.
- First-time Andhra pickle batches most often fail from under-salting, wrong container material or a skipped sun-drying step.
- A podi like kobbari or kandi podi replaces the spice-grinding stage of a DIY kit while still letting you season your own base vegetable.
Why a pickle making kit matters for Andhra-style home cooks
Most pickle making kits sold online in 2026 are built around North Indian or Gujarati recipes — mustard-oil based, lower chili content, no sun-curing step. A home cook chasing Andhra flavor with one of these kits is working from the wrong blueprint before the jar is even opened.
Andhra pickles like avakaya and gongura use raw groundnut or sesame oil in far higher volume than northern styles, because the oil has to seal out moisture during weeks of curing, not just flavor the dish. Getting the right spice level wrong at this stage is the single biggest reason first attempts fail — too little oil lets air in, and the batch turns moldy within days instead of curing into something that lasts months.
A pickle making kit gets you halfway to authentic Andhra flavor — a finished jar from a maker who already knows the ratios gets you there without the trial batches.
Build an Andhra-style pickle from scratch: step by step
Pick the right base ingredient before buying anything else
The base decides everything downstream — oil quantity, curing time, and shelf life all shift depending on whether you're working with a vegetable, a fruit, or meat.
- Raw mango for avakaya, picked hard and sour, not ripe
- Gongura leaves, washed and fully dried before cutting
- Boneless or bone-in chicken for non-veg pickle, patted completely dry
- Lemon or tamarind for tangier, quicker-curing styles
- Bitter gourd or drumstick for lighter vegetarian versions
Balance oil and chili ratio for Andhra-style curing
Andhra recipes run heavier on oil than most home cooks expect, and skimping here is the fastest way to lose a batch to spoilage.
- Use raw, unrefined sesame or groundnut oil, never a neutral cooking oil
- Oil should fully submerge every piece once mixed, with no dry patches visible
- Chili powder quantity should match the base's moisture content — wetter vegetables need more
- Add oil in stages over the first few days as the mix settles, not all at once
Get the spice grind right, or buy an authentic podi instead
Grinding your own spice blend from scratch is where most DIY kits fall apart, because freshness and grind size change the final taste more than the ingredient list does.
- Roast spices separately before grinding to avoid a raw, bitter aftertaste
- Grind in small batches so the oils in the spices don't turn rancid before use
- Sesame-based blends like kobbari podi skip the grinding step entirely while still letting you season your own base ingredient
- Store any ground spice in an airtight jar away from direct light
Handle the sun-drying step correctly
Sun-drying removes surface moisture from the base ingredient and is non-negotiable for oil-based Andhra pickles — skip it and the jar won't cure properly no matter how much oil you add later.
- Dry cut vegetables on a clean cloth in direct sun for several hours before mixing
- Cover with a fine mesh to keep dust and insects out
- Bring the batch indoors before evening humidity sets in
- Repeat over 2-3 days for wetter vegetables like raw mango
Store the pickle in the right container from day one
Container choice matters as much as the recipe — acidic pickles like gongura or lemon react with the wrong material and spoil early.
- Use glass or food-grade ceramic jars, never reactive metal containers
- Sterilize jars with boiling water and dry completely before filling
- Keep jars in a cool, dark spot rather than near a stove or window
- Check the storage guidance for homemade pickles before sealing a full batch, not after
Test a small batch before committing to a full jar
A half-kilo test batch costs a fraction of the ingredients a full jar needs and tells you within a week whether the oil ratio and spice level actually work.
- Use a small glass jar for the test run, same process as the full batch
- Taste after 3-4 days of curing, not on day one
- Check for any dry patches on the surface, a sign of insufficient oil
- Adjust chili or salt on the next batch based on what the test tells you
Know when to skip the kit and buy the finished pickle
Once you've weighed the time, the failed-batch risk, and the sourcing effort against buying an already-cured jar, the faster path becomes obvious for a lot of home cooks.
- Skip assembly entirely if you don't have reliable sun exposure for drying
- Buy ready-made when you want bone-in or boneless non-veg pickle, which is harder to cure safely at home
- Order a finished jar for gifting or events where a failed batch isn't an option
- Tulasi Pickles ships homemade Andhra-style pickles, podi and papads across India and overseas for cooks who want the flavor without running the kit themselves
Pickle making kit vs. buying finished Andhra pickle: which fits your kitchen
| Option | Best for | Key limitation |
|---|---|---|
| DIY spice + oil assembly at home | Cooks who want full control over spice level and enjoy the process | First batches often fail from wrong oil ratio or skipped sun-drying |
| Store-bought podi + your own base vegetable | Cooks short on time who still want to season the pickle themselves | Still requires correct oil ratio and jar hygiene to avoid spoilage |
| Ready-made Andhra pickle from Tulasi Pickles | Cooks who want authentic flavor with zero prep or spoilage risk | No option to adjust spice level yourself after the jar is made |
Verdict: if you've never cured an oil-based Andhra pickle before, start with a small DIY test batch or a podi-based shortcut — save the full ready-made order for when you need a guaranteed result.
Common mistakes Andhra-style home cooks make
- Following a generic pickle recipe instead of an Andhra-specific one, which under-salts and under-oils the batch from the start
- Skipping the sun-drying step for oil-based pickles like avakaya, which leaves surface moisture that turns the batch moldy within a week
- Using a reactive metal container for acidic pickles like gongura or lemon, which changes the taste and shortens shelf life
- Guessing at spice level instead of testing a small batch first, then discovering the full jar is too mild or too harsh
- Buying ground spice that's already gone rancid on the shelf, which flattens the final flavor no matter how good the base ingredient is
Skip the trial batches this season
Order homemade Andhra-style pickles and podi shipped from Hyderabad.
FAQ
What’s in a typical pickle making kit for Andhra recipes?
A pickle making kit built for Andhra flavors includes a raw base ingredient (mango, gongura, chicken, or lemon), roasted spice powder, salt, and raw sesame or groundnut oil. The oil quantity is higher than in North Indian kits because it has to fully seal the base during curing.
Is a pickle making kit better than buying ready-made Andhra pickles?
A kit gives you control over spice level but carries real spoilage risk on a first attempt, while a ready-made jar from a maker like Tulasi Pickles removes that risk entirely. Choose the kit if you want to learn the process; choose ready-made if you want a guaranteed result in 2026.
How much oil does an Andhra-style pickle need to stay shelf-stable?
Enough oil to fully submerge every piece of the base ingredient with no dry patches visible on the surface. Oil is added in stages over the first few days as the mix settles, not poured in all at once.
Can I make Andhra pickles without sun-drying?
No — sun-drying removes surface moisture from the base ingredient, and skipping it is one of the main reasons DIY batches turn moldy within a week. This step is non-negotiable for oil-based styles like avakaya.
What spice powder (podi) works best for home pickle-making?
Kobbari podi (coconut-based) and kandi podi (lentil-based) both work as a shortcut for the spice-grinding stage of a kit while still letting you season your own base vegetable. Freshly roasted podi gives a noticeably better result than pre-ground spice that’s sat on a shelf.
How long do homemade Andhra pickles last without refrigeration?
A properly oil-sealed, correctly cured Andhra pickle like avakaya can last several months at room temperature because the oil layer blocks air and moisture. A batch with too little oil or skipped sun-drying can spoil within days instead.
Do I need special jars for homemade pickles?
Yes — glass or food-grade ceramic jars, sterilized with boiling water and fully dried before filling. Reactive metal containers change the taste of acidic pickles like gongura or lemon and shorten shelf life.
Is it cheaper to make pickles at home or buy them ready-made?
A DIY kit needs upfront ingredient sourcing and carries the cost of a failed first batch, which a ready-made jar avoids entirely. For cooks who value time and a guaranteed result over the process itself, buying finished Andhra pickle is the more predictable route in 2026.
One last thing
The detail most first-time kit buyers miss isn't the spice ratio — it's that oil-based Andhra pickles need oil added in stages over several days, not all at once on day one. Skip that staging and the surface dries out before the oil layer can seal it, even if the total oil quantity was correct to start.
Related guides
- Best Andhra pickles for authentic homemade taste
- Best podi varieties for mixing with rice at home
- How to choose the right spice level in pickles