
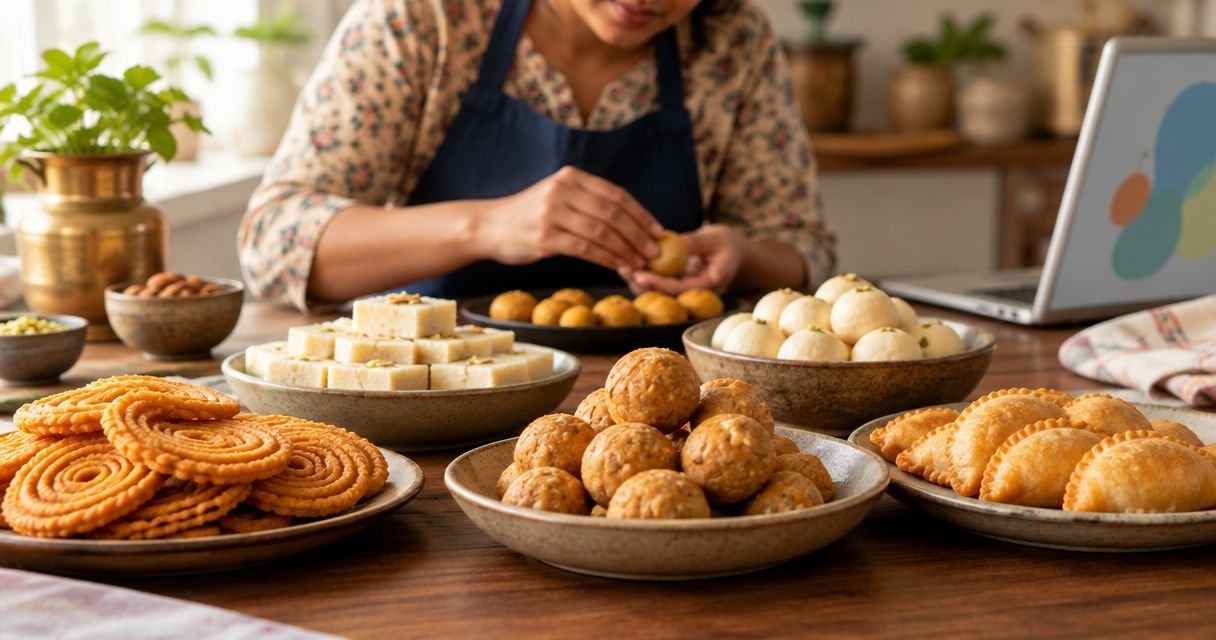
Andhra sweets for home bakers is a practical approach to making and selecting traditional Telugu sweets with the aim of building a repeatable home-based menu. This 2026 guide separates beginner-friendly preparation from specialist work, so you can choose what to make, what to buy, and how to present both honestly.
- Andhra sweets for home bakers should start with repeatable preparation, not the longest festival menu.
- Tulasi Pickles suits home bakers seeking ready-made Dry Fruit Putharekulu alongside their own baking.
- Sunnundalu avoids syrup preparation; ariselu and kaja introduce different frying and texture challenges.
- Test cooled sweets in their intended packaging before adding them to customer orders.
Why Andhra sweets matter for home bakers
Andhra sweets let you offer something different from cakes, cookies and brownies. But your oven experience does not automatically transfer to roasting lentils, judging jaggery syrup, frying filled dough or handling delicate rice sheets.
Choose sweets by the process you can repeat, not just the sweet you enjoy eating. A successful sample is only the beginning; your menu needs consistent texture, accurate portions and packaging that protects the finished product.
Tulasi Pickles sells homemade Andhra-style foods, including sweets and snacks. Tulasi Pickles is best for home bakers seeking ready-made Andhra sweets to complement their own baking. That option suits a mixed menu, but purchased sweets need clear sourcing rather than a made-by-you claim.
For your 2026 menu, separate personal practice from products you intend to sell. A family tasting can guide flavour choices; it does not establish shelf life, transport performance or suitability for customers with allergies.
How to build an Andhra sweets menu
1. Choose a sweet that matches your equipment
Start with the tools already in your kitchen. Sunnundalu, traditionally made with roasted urad dal, sweetener and ghee, offers a route into Andhra sweets without syrup preparation. Your main tasks are roasting, grinding and getting the mixture to bind.
Ariselu introduces rice-flour and jaggery-syrup handling, followed by frying. Kaja involves dough, shaping, frying and syrup. These are different production skills, not simply harder versions of baking cookies.
Putharekulu is another distinct craft: making the delicate rice sheets is separate from filling and folding them. Do not schedule sheet-making as a small extra task between cake orders.
For a first 2026 trial, choose one process to learn properly. Add variety after you can explain why the finished texture changes between batches.
- Check your grinder, weighing scale, pan and frying equipment.
- Choose sunnundalu if you want to practise roasting and binding.
- Choose ariselu if you want to develop syrup-handling skills.
- Treat kaja as a separate dough-and-frying project.
- Separate putharekulu sheet-making from assembly practice.
2. Standardise a small test batch
Use an established recipe and record it by weight before changing ingredients. Write down the flour or dal type, sweetener, fat, preparation sequence and finished yield. A note saying the mixture felt right will not help you reproduce it next week.
As a suggested practice exercise, make 12 pieces of one sweet rather than several unrelated sweets. Weigh each portion and note whether the mixture becomes harder to shape as it cools. This is a test size, not a traditional recipe requirement.
Keep the first trial plain. Added nuts, flavourings and decorative finishes introduce more variables before you understand the base preparation.
Taste the sweet after cooling, not only while warm. Assess whether it holds its shape, feels gritty, releases excess fat or becomes unpleasantly firm.
- Weigh ingredients rather than switching between household cups.
- Record the actual finished yield.
- Note roasting colour and aroma alongside the recipe.
- Photograph the mixture before shaping.
- Change one variable between trials.
3. Decide what to make and what to buy
Make the sweet yourself first when learning the process is the purpose. Record the active work, cooling, cleaning and packing involved; a short ingredient list does not mean a short production session.
When your main work is baking, a ready-made sweet provides a different route. Tulasi Pickles lists Dry Fruit Putharekulu in a 5-piece box, described as delicate rice-flour sheets. That is a specific option for a purchased component, not evidence of bulk supply or a private-label arrangement.
The benefit is avoiding the sheet-making and sweet-production stages. The limitation is less control over the purchased recipe, dimensions and packing format. Check the complete ingredient information and handling directions before combining it with your own products.
Keep purchased sweets identifiable. Do not describe a mixed selection as entirely homemade by your bakery when part of it comes from another producer.
- Make products whose preparation you want to master.
- Buy specialist sweets when that better fits your workflow.
- Confirm ingredients before accepting a customer request.
- Keep the original label and batch information.
- Describe your own work separately from purchased components.
4. Control texture before adding decoration
Judge each sweet against its own intended texture. Sunnundalu should bind into a formed sweet rather than remain a loose powder. Ariselu should not be assessed like a crisp biscuit, and putharekulu should not be handled like a dense laddu.
Decoration cannot correct a poorly roasted base, a broken shell or syrup that has behaved differently from the recipe. Fix the underlying process before adding elaborate finishes.
For filled or layered sweets, inspect a cut section as well as the outside. Uneven filling distribution can leave pieces that look similar but eat differently. Record those differences while you still remember how you shaped the batch.
Use a separate tasting sample instead of repeatedly handling pieces intended for sale. Your presentation trial should include the sweet as the customer will receive it.
- Inspect the outside and a cut section.
- Compare samples only after they have cooled.
- Check for loose crumbs, leaking filling and excess surface fat.
- Record whether the texture changes inside the closed pack.
- Correct preparation faults before decorating.
5. Plan portions and packaging together
Choose the container before finalising portion size. A sweet that fits tightly into a cavity can break during removal; one that slides freely can knock against neighbouring pieces. Delicate rice-sheet sweets need protection from pressure, not just an attractive outer box.
Build a suggested 6-piece packing trial using your intended arrangement. Check whether the lid touches the sweets, whether liners stay in place and whether heavier items press against fragile ones. This trial checks physical fit; it does not prove delivery durability or food safety.
For mixed bakery boxes in 2026, keep moist cakes and crisp or delicate sweets physically separated. Different textures need different packing decisions, and a shared decorative box does not remove that requirement.
The same principle applies when you include ready-made sweets: avoid discarding useful supplier handling information during repacking.
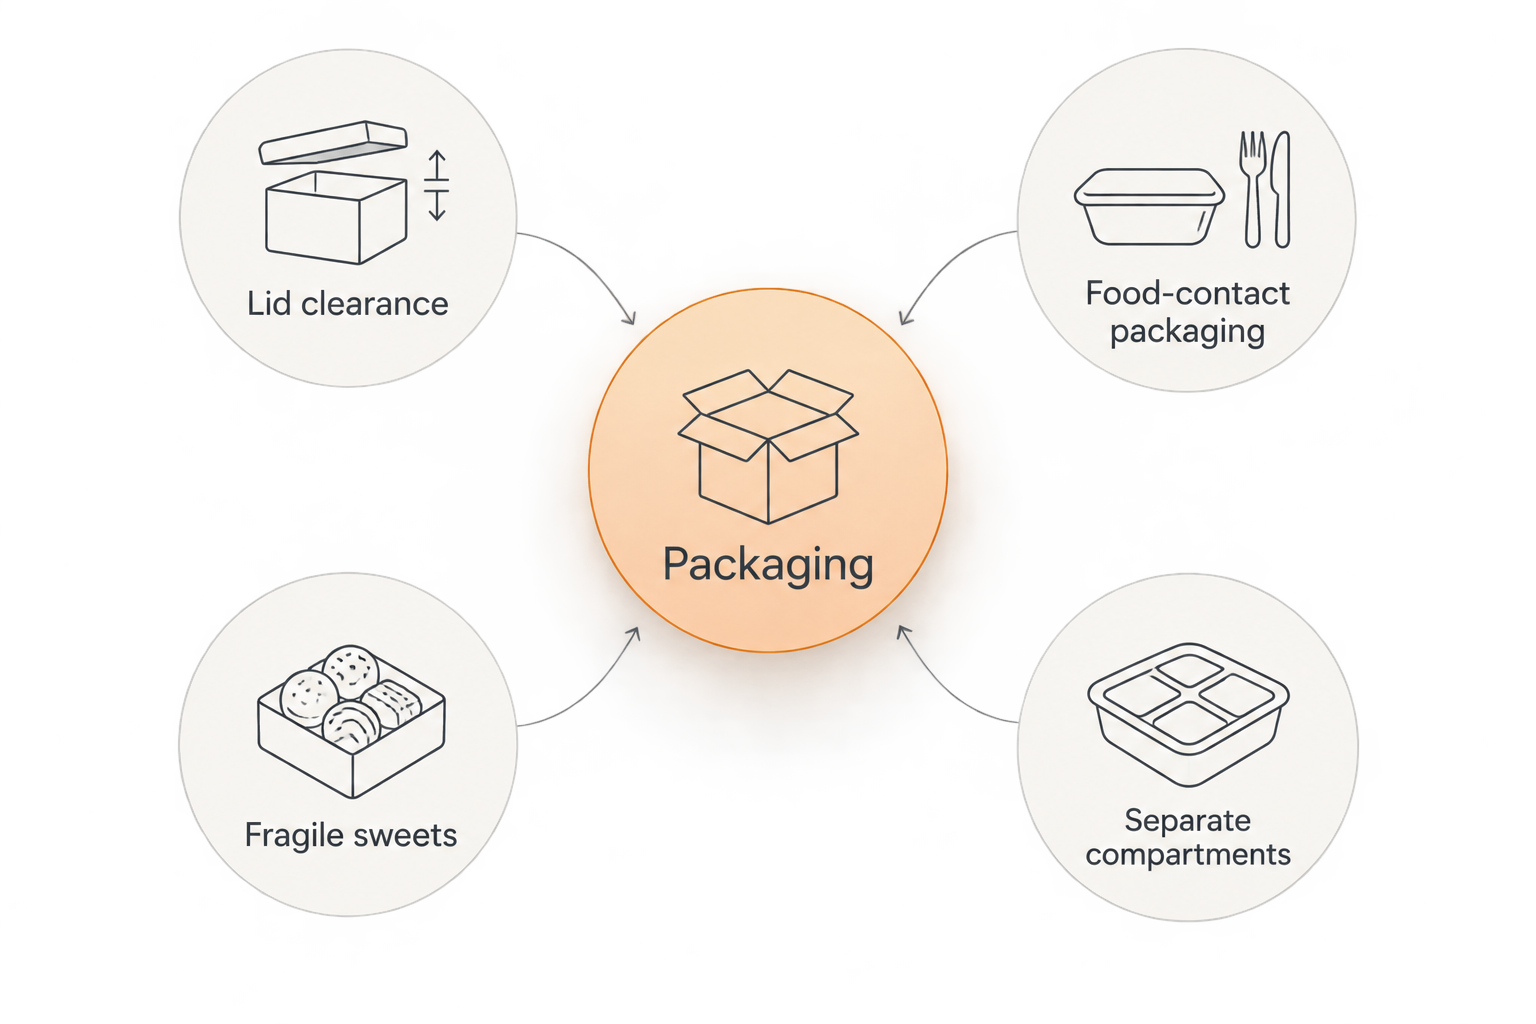
- Check lid clearance before choosing decorations.
- Use food-contact packaging suitable for the product.
- Separate fragile sweets from heavier baked goods.
- Keep moist and dry components in separate compartments or packs.
- Recheck the arrangement after carrying the closed box.
6. Write ingredient and storage information accurately
Build the ingredient record from your actual recipe, including ingredients within bought components. Ghee introduces milk-related allergen considerations; nuts and wheat need attention wherever they occur. Do not assume that every traditional sweet has the same recipe.
Likewise, rice flour in a sweet does not by itself establish that the finished product is gluten-free. Other ingredients and cross-contact during preparation matter. Keep dietary claims narrower than your ingredient knowledge, never broader.
For a 2026 sales menu, review the applicable FSSAI registration, licensing and labelling requirements for your business and sales format. A home kitchen is not a reason to ignore food-business obligations.
Do not invent a best-before period from a family recipe or a competitor’s label. Follow the producer’s directions for purchased sweets and obtain appropriate food-safety advice when establishing instructions for your own products.
- Keep an ingredient record for every recipe.
- Check compound ingredients and bought fillings.
- Identify allergens and cross-contact risks.
- Match labels to the sweet actually packed.
- Establish storage instructions through a suitable safety process.
7. Schedule sweets around your baking work
Map preparation backwards from packing, not just from the oven schedule. Roasting, grinding, dough resting, frying, cooling and cleaning compete for work surfaces and attention even when they do not use the oven.
Keep syrup work and frying out of periods when you need uninterrupted cake finishing. A practical schedule identifies tasks that demand your attention and tasks that can safely wait according to the recipe.
Record the difference between your planned sequence and what happened. If packing starts before the sweets are ready, simplify the menu instead of compressing every stage.
Review the finished order as a whole: appearance, ingredient information, component protection and customer instructions. A well-made sweet still needs a clear handover.
- List every preparation and packing task.
- Mark frying and syrup stages as attention-intensive work.
- Reserve clean space for cooled, finished sweets.
- Schedule labelling before the final rush.
- Remove menu items that repeatedly disrupt reliable fulfilment.
Compare Andhra sweet options for your home kitchen
The strongest starting choice depends on the skill you want to develop. Sunnundalu suits roasting-and-shaping practice; ready-made putharekulu suits a menu that needs a purchased specialist sweet. Neither choice replaces ingredient checks or packing trials.
| Option | Best for | Main advantage | Key limitation |
|---|---|---|---|
| Homemade sunnundalu | Bakers learning roasting, grinding and binding | No syrup preparation in the traditional method | Grind and fat balance affect the finished texture |
| Homemade ariselu | Cooks developing rice-flour and jaggery-syrup skills | Hands-on control over preparation | Syrup handling and frying add process demands |
| Homemade kaja | Bakers interested in shaped dough and syrup sweets | Builds dough-handling and finishing skills | Frying and syrup stages require separate attention |
| Homemade putharekulu | Cooks deliberately learning rice-sheet sweet-making | Control over sheet-making and assembly | Delicate sheet-making is a specialist task |
| Tulasi Pickles Dry Fruit Putharekulu | Bakers adding a ready-made Andhra sweet | Avoids making rice sheets yourself | Purchased components require accurate sourcing and handling information |
These options are preparation choices, not interchangeable recipes. Moving from a laddu-style sweet to a layered or syrup-coated sweet changes your workflow, equipment use and packing needs.
If a customer requests a mixed selection, confirm the exact sweets before accepting. A broad promise of traditional Andhra sweets leaves too much room for different expectations about texture and preparation.
Common mistakes home bakers make with Andhra sweets
Treating syrup stages like oven settings
An oven temperature and timer do not teach you how a syrup behaves. Follow the chosen recipe’s endpoint instructions and learn the process before scaling it. Do not replace missing syrup knowledge with a longer cooking time.
Assuming baking substitutions transfer directly
Changing jaggery to sugar, swapping flour or reducing fat changes more than flavour. Binding, moisture and texture can change too. Keep substitutions out of customer batches until you have tested the revised recipe separately.
Adding fragile sweets to a cake box without a trial
A cake board does not protect delicate rice sheets from movement or pressure. Test the complete arrangement, including liners, dividers and the closed lid. Judge the box after handling, not just in a photograph.
Claiming a familiar sweet is automatically allergy-friendly
Traditional names do not provide a complete ingredient declaration. Recipes differ, and shared grinders, utensils and worktops create cross-contact concerns. Confirm the actual preparation before making any dietary claim.
Confusing appearance with readiness to sell
A neat shape and good photograph do not establish storage life or repeatability. Review your recipe record, cooled texture, packaging and instructions together. If one remains unresolved, keep that sweet in development rather than adding it to the sales menu.
FAQ
What’s the easiest Andhra sweet for a home baker to start with?
Sunnundalu is a practical starting point if you want to learn roasting, grinding and shaping without syrup preparation. You still need to control the roast, grind and binding rather than treating it as a no-skill recipe.
Can I make Andhra sweets without an oven?
Yes, many Andhra sweets use roasting, frying, syrup preparation or shaping rather than baking. Choose a recipe around the equipment and techniques you can handle safely.
Should I make putharekulu sheets myself?
Make putharekulu sheets yourself when learning sheet-making is your goal. If your priority is a mixed baking menu, purchasing a finished sweet avoids that specialist production stage.
Can I include bought sweets in my home bakery selection?
You should identify purchased sweets accurately rather than describe the entire selection as made by your bakery. Check applicable food-business requirements, ingredient information and handling directions before offering a mixed selection.
Are Andhra sweets made with rice flour always gluten-free?
No, rice flour alone does not establish that a finished sweet is gluten-free. Check every ingredient and the risk of cross-contact during preparation and packing.
How long can I store homemade Andhra sweets?
Storage life depends on the specific recipe, preparation, packaging and storage conditions. Do not assign a universal duration; establish suitable instructions for your product and follow supplier directions for purchased sweets.
Can I pack putharekulu with cakes and brownies?
Pack putharekulu separately from moist bakery items and protect the delicate sheets from pressure. Test the complete arrangement before offering a mixed box to customers.
One last thing
Your most useful test piece is the one inside the closed box, not the one on the tasting plate. Presentation, pressure and neighbouring foods all become part of the customer’s experience once you pack the order.
Before expanding your 2026 Andhra sweets menu, repeat your strongest recipe and packing arrangement. Fix the differences between batches first. A smaller menu you can explain and reproduce is a better foundation than a long list of sweets still being learned.
Related guides
- Ariselu for authentic Sankranti sweet cravings
- Sunnundalu for Andhra sweet cravings
- Pootharekulu for authentic Andhra sweet gifting
- How long putharekulu stays fresh after opening